
Building a chain
MacLauncher combines graphics effects for games on macOS in an effect chain of up to 32 rows, and effects can go in any order and any combination. This page explains how rows interact and how sizes work, and gives a few example chains to start from.
Top to bottom
Section titled “Top to bottom”The image enters at the top of the chain and passes through each enabled row in turn. Each row receives the output of the row above it, so the order changes the result:
- Sharpening before an upscaler sharpens the small image, and the upscaler then enlarges the sharpened edges; sharpening after the upscaler works on the final pixels. Both are valid choices with different results.
- A CRT effect belongs after the image has been enlarged, so it has enough screen pixels to draw scanlines with.
- Color grading before a CRT grades the game, while a grade after the CRT also tints the simulated glass and glow.
- An expensive model costs least early in the chain, at a small size, before anything enlarges the image.
Rows come in five kinds. Image filters keep the size, Downsample and Upscale change it, and Temporal upscaling and Frame generation work across frames. When you add a shader, MacLauncher places it by the output size it declares, so a shader that always doubles its input appears as an Upscale.
Editing rows
Section titled “Editing rows”In Advanced, Add effect… adds a row of any kind, and dropping a shader file on a row replaces that row’s effect. You can drag a row or move it with Option-Up and Option-Down, switch it off to set it aside with its settings intact, or remove it. Options holds the row’s parameters and size, and Details shows what the row is doing while the game runs. A row that can’t run as saved, for instance because its shader file is missing, stays off and shows Needs attention with the reason, and the rest of the chain keeps running.
Every resize row can set its size in three ways:
- a scale of the previous image, such as 0.5× or 2×
- a fraction of the window or fullscreen surface, such as 100%
- a fixed resolution, such as 540p or 1920×1080
A Downsample halves its input by default, and an Upscale fills the window. Fixed-scale models and shaders keep their own scale (a 4× model always outputs 4×), and a later resize row can fit the result to the window. Options and Details on each row show the actual input and output size it sees. Whatever happens inside the chain, the window keeps the size you gave it, and the last image is fitted to it.
A Downsample row can also use Adaptive quality, which adjusts its working size within bounds you set to stay inside a GPU time budget.
Recipes
Section titled “Recipes”Pixel art with a CRT
Section titled “Pixel art with a CRT”- Upscale: Nearest, to the window.
- CRT: Simulated content height set to the game’s original height.
- Colour, for slightly stronger colors.
The overview page shows this chain on Sonic the Hedgehog 2, and CRT and retro compares other CRT shaders that can take the place of step 2.
A sharper visual novel
Section titled “A sharper visual novel”- Upscale: Real-CUGAN 2×, or Anime4K, which costs far less.
- Upscale: MetalFX or Bilinear, to fit the result to the window.
- CAS Sharpen at a low strength.


DLSS neural rendering at a playable frame rate
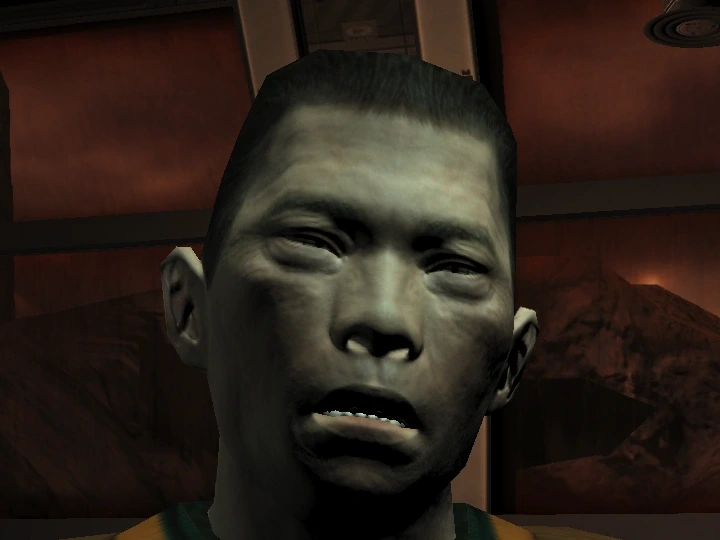
Section titled “DLSS neural rendering at a playable frame rate”DLSS neural rendering redraws every frame with a neural model. On a game like DOOM 3 the result can look close to a photograph, with weathered skin, woven cloth and softer, more natural light. It is also the most demanding effect on this page, because the model processes every pixel of every frame. The tabs show the same frame three ways:
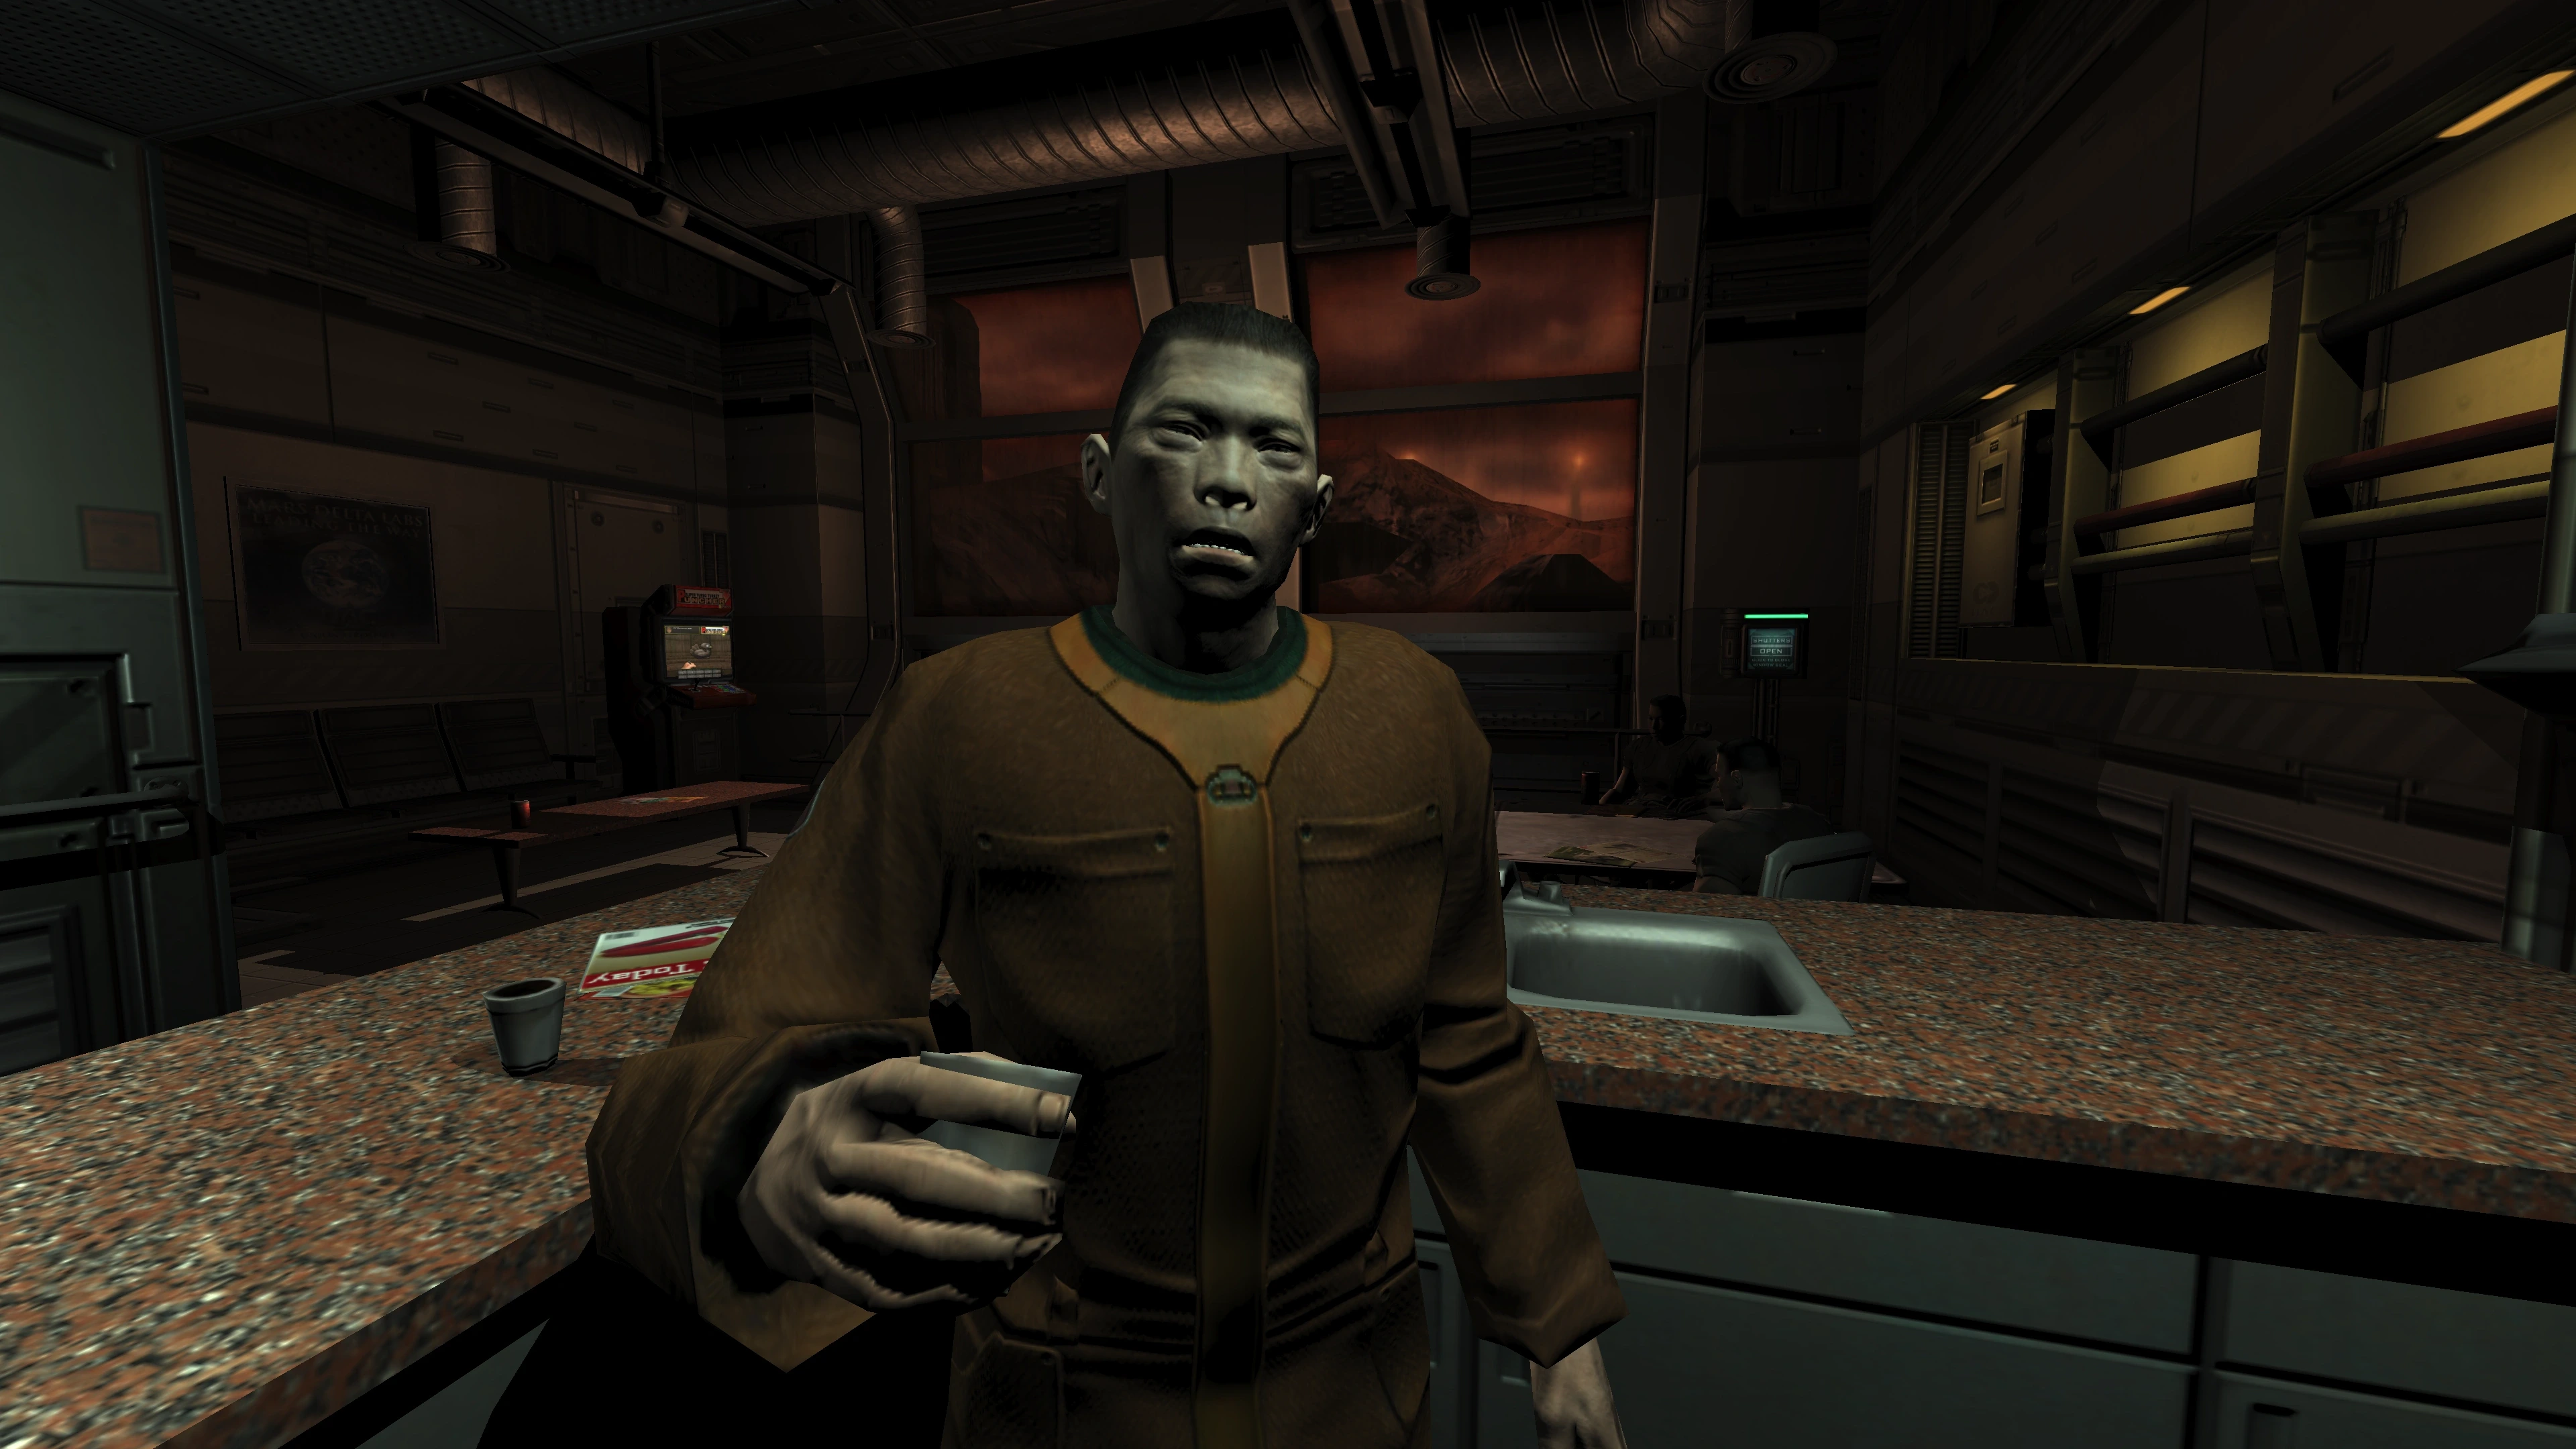
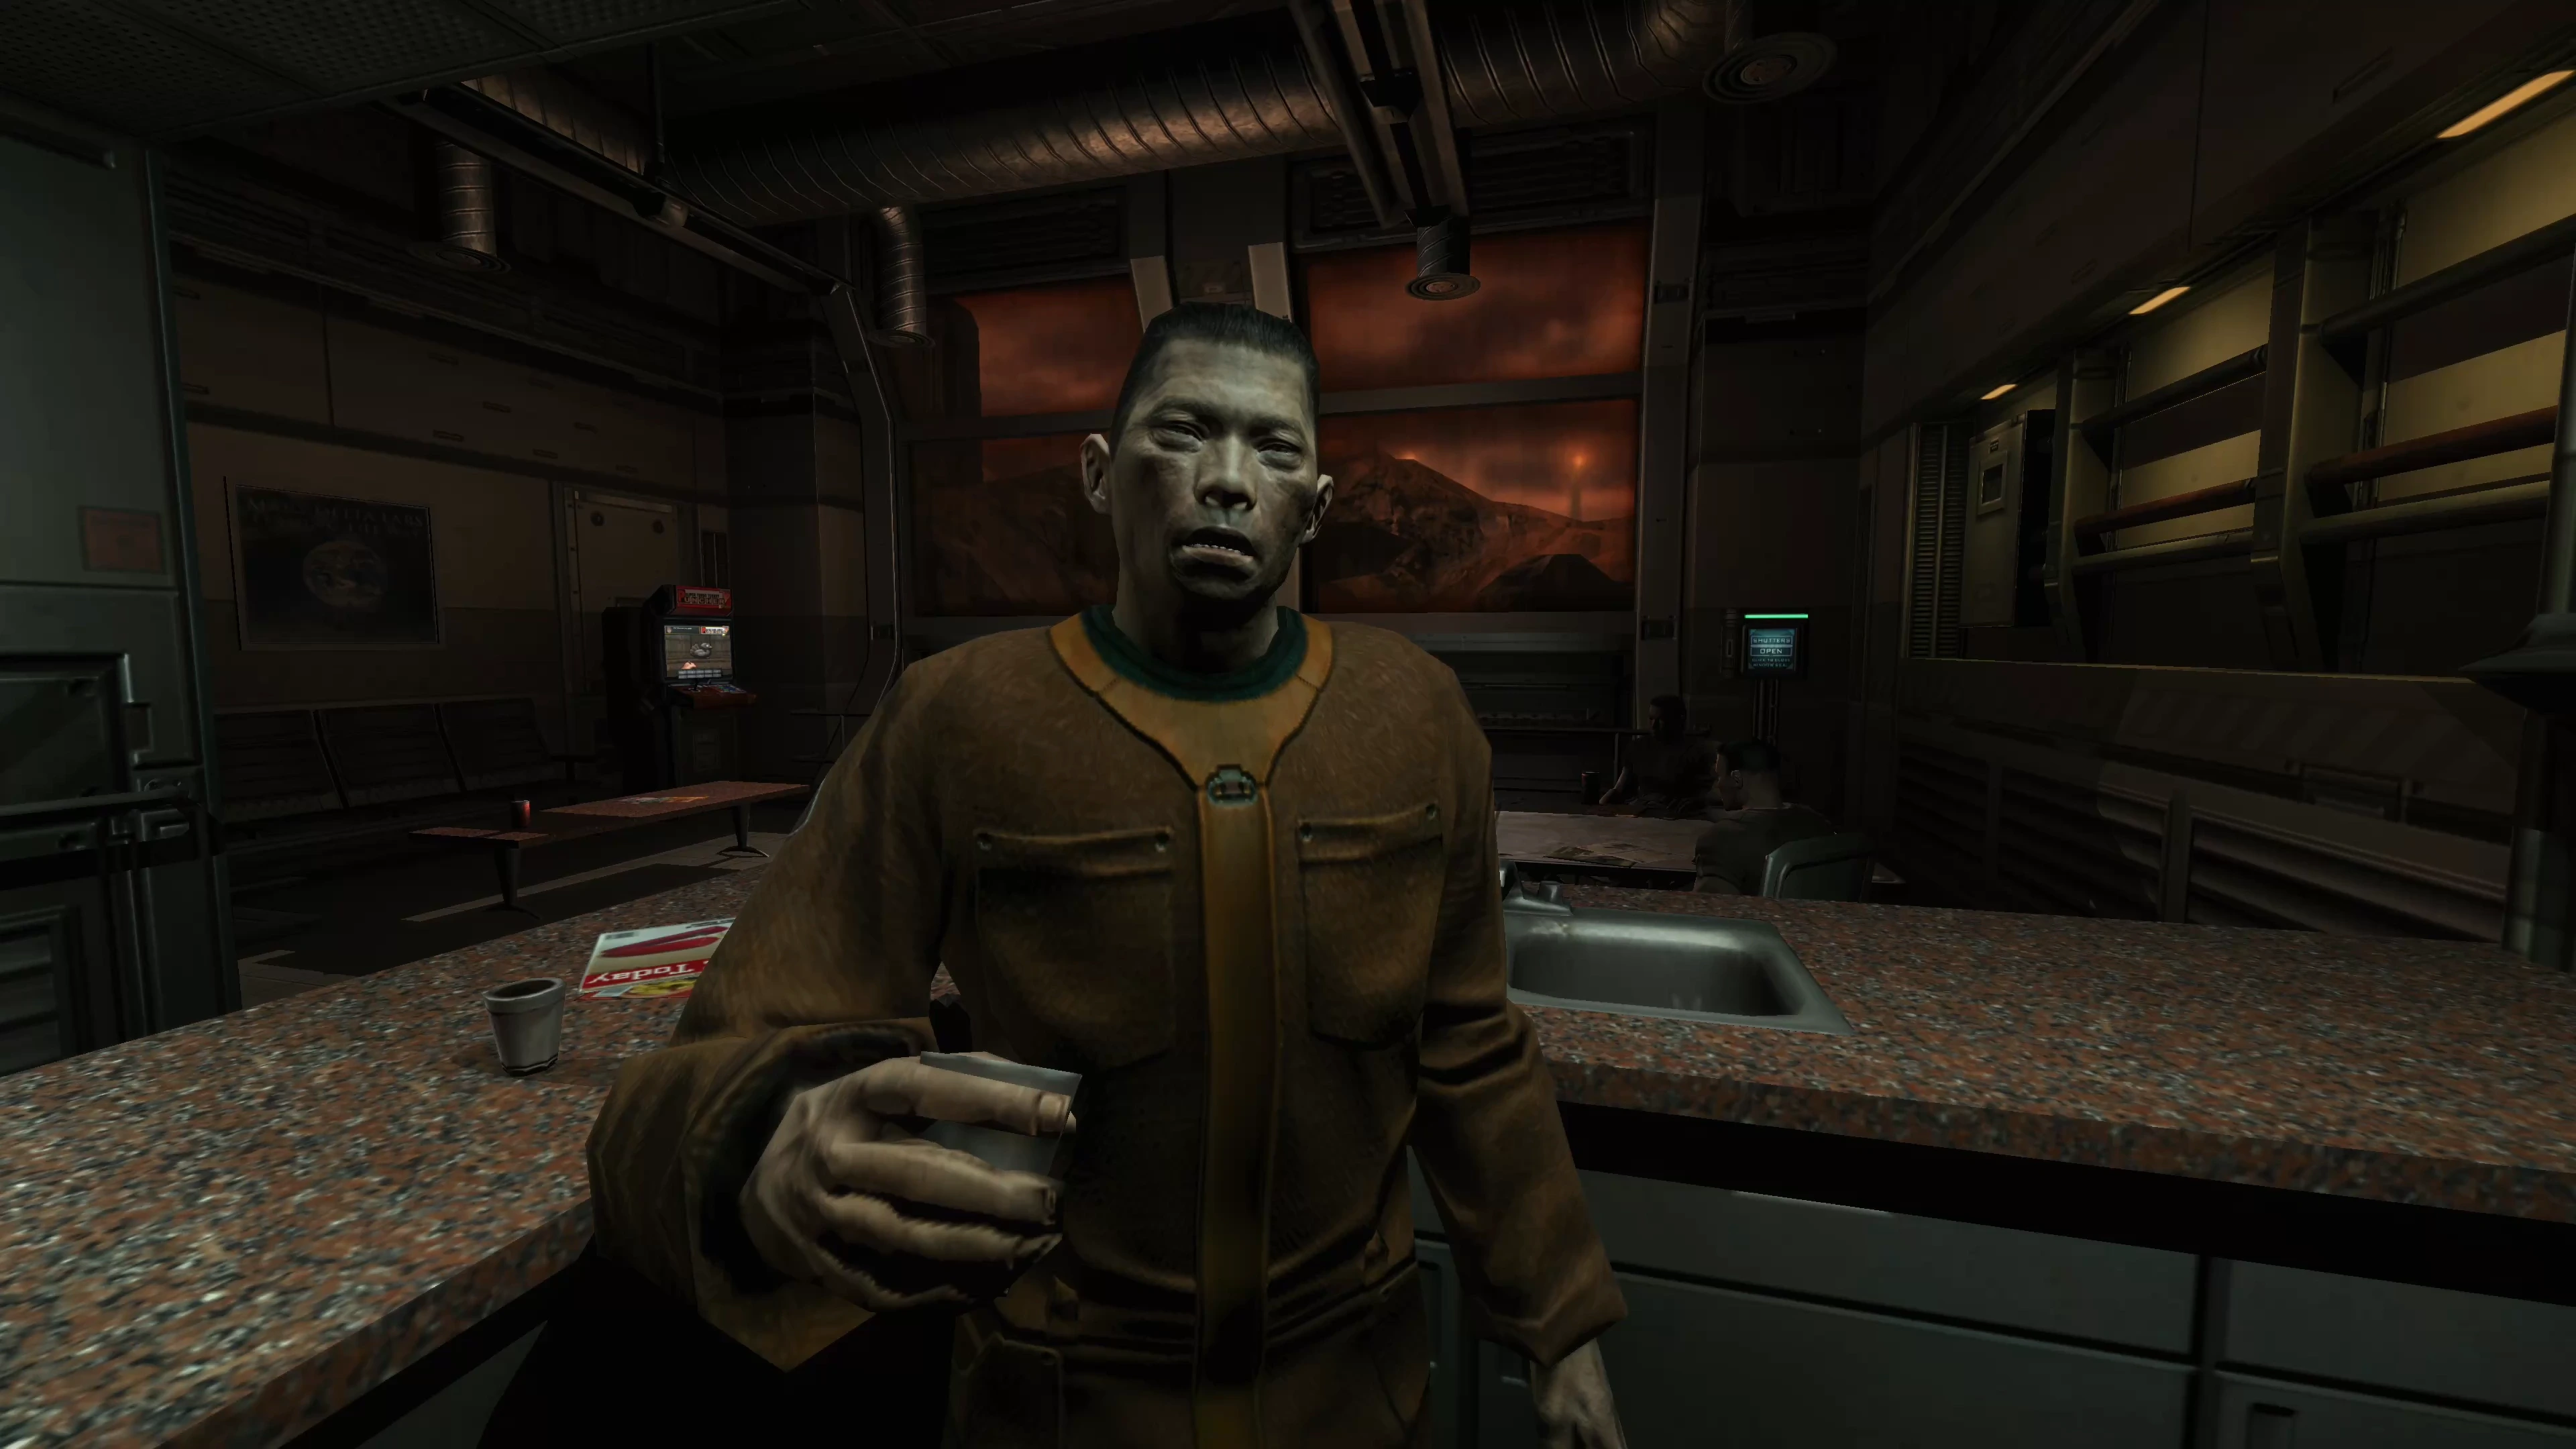
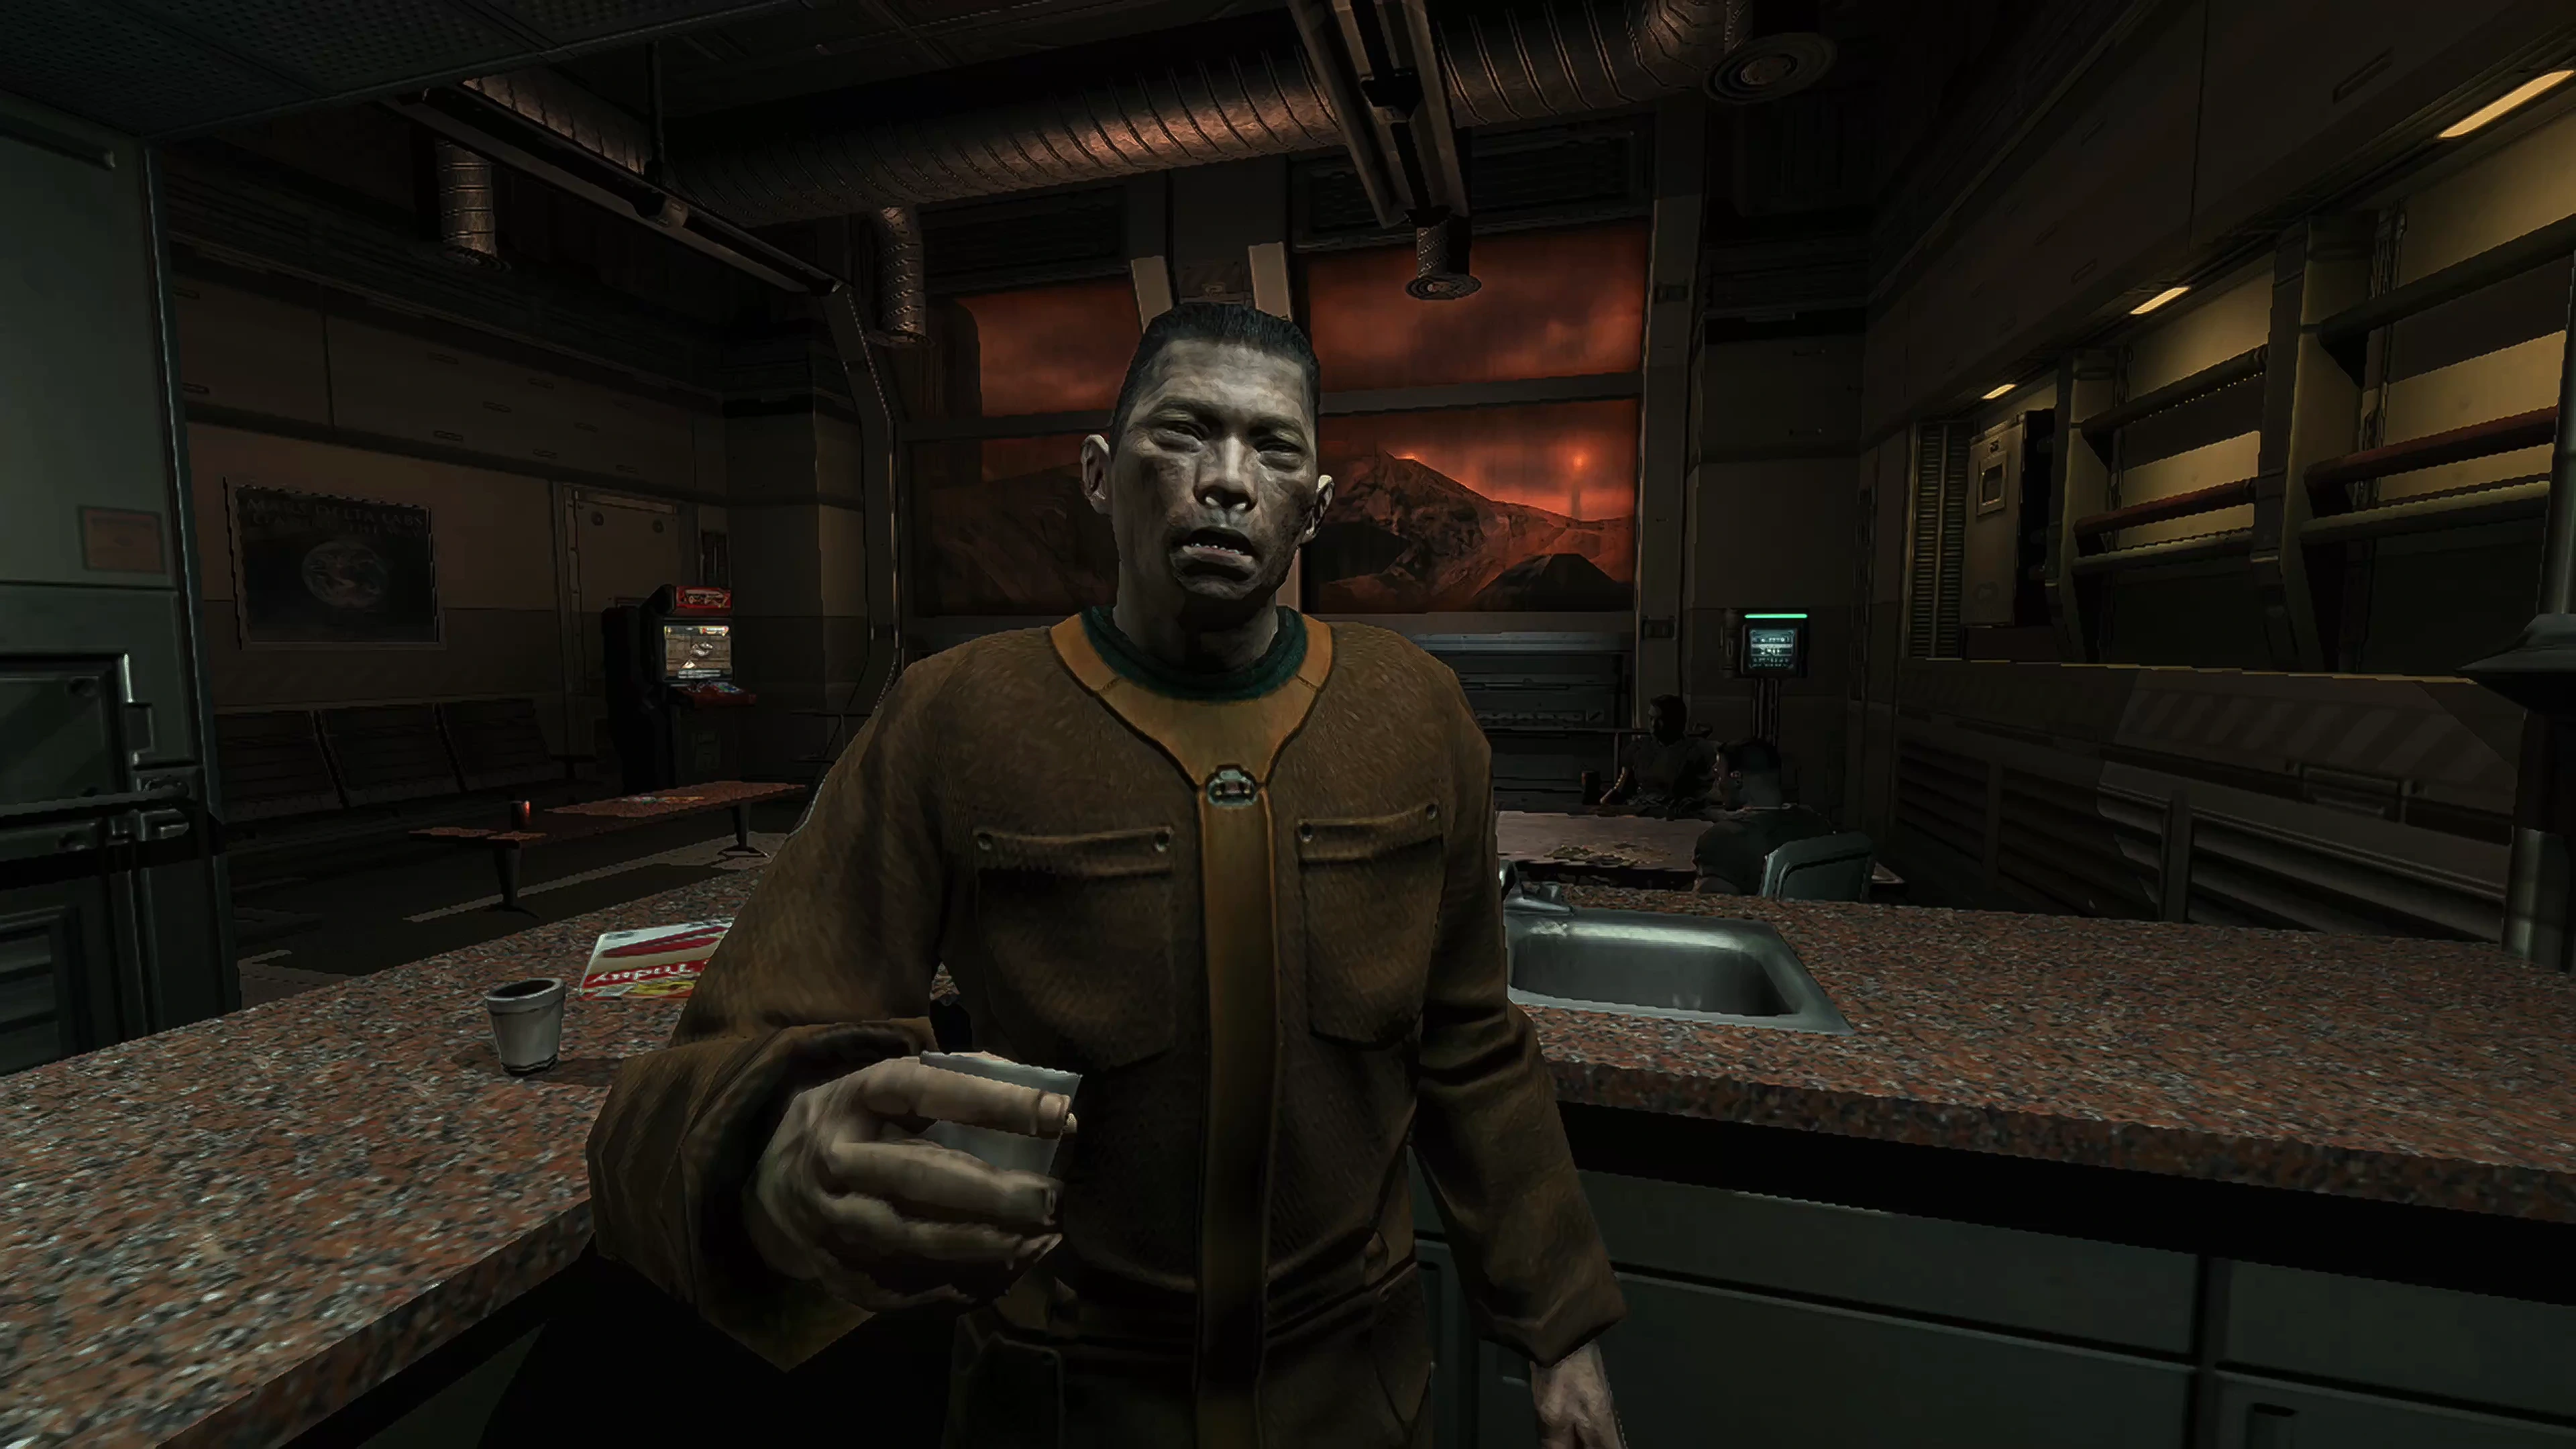
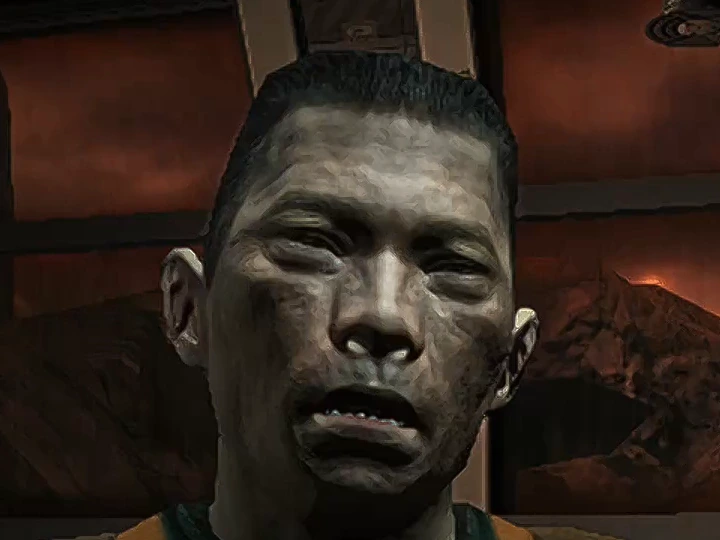
The complete chain:
- Downsample to 720p, so DLSS has far fewer pixels to redraw.
- DLSS neural rendering on the 720p image.
- Upscale with MetalFX Spatial to the window. See Upscaling.
- Frame generation with Lossless Scaling at 4×, which fills in the frames DLSS can’t produce in time. See Frame generation.
At 540p or 720p, the model redraws a fraction of the pixels, which makes DLSS fast enough to run in real time and keeps the game far more responsive than at full resolution. MetalFX then restores the sharpness, and frame generation smooths the motion. Input follows the frame rate after step 3, plus the small delay that generated frames add. The DLSS · 540p + LSFG 4× preset sets up a version of this chain in one step.
Frame generation alone
Section titled “Frame generation alone”A single Frame generation row at 2× is often all a 30 fps game needs. Automatic works without any downloads, while RIFE and Lossless Scaling use a downloaded model or your own Lossless Scaling files. See Frame generation.
Presets
Section titled “Presets”Save as preset…, in the ⋯ menu beside the Graphics heading, saves the current chain under a name, with every row, size and parameter. Applying a preset to another game copies it into that game, so later edits to the preset don’t change games it was already applied to. Manage presets… opens the presets in Runtimes → Graphics → Presets. A preset refers to the shaders and models it uses, which stay in the shared libraries.
Seeing what changed
Section titled “Seeing what changed”Output → Compare switches between the processed image, the untouched source, a split view with a movable divider, and the difference between the two. Details on each row shows its sizes and whether it’s running, with a reason when it isn’t.
Performance and presentation
Section titled “Performance and presentation”The Output section also has settings that leave the picture itself alone. Each one appears when the game’s graphics support it. A saved choice also stays visible when it cannot run, with the reason shown; it applies once support is available. Supported changes apply while the game runs.
- Performance overlay draws a small panel at the top left of the game with the captured, displayed and generated frame rates, GPU time, latency and how evenly frames are paced. Compact shows three lines. Detailed adds memory use, the parts that make up the latency, and running counts of captured, presented, generated, passed-through and dropped frames. It also lists the GPU time of each row in your chain; rows that the GPU processes in one batch share a measurement, and the overlay marks them. With the overlay on, the cost of an effect and whether frame generation keeps up are easy to see.
- Frame-rate cap limits how often the game itself renders, from 10 to 1000 fps. A steady, lower frame rate can look smoother than one that swings up and down, and it leaves GPU time for the effects. When graphics are applied to another app’s window, the cap limits how often MacLauncher takes frames from that window instead. Without a cap, MacLauncher never limits the game.
- Display sync and Drawables control how processed images reach the screen. Turning display sync off can lower latency in fullscreen but can cause tearing; in a window, macOS shows each image at the display’s refresh either way. Two drawables lower latency, and three keep presentation smoother when GPU time varies.
Shortcuts and screenshots
Section titled “Shortcuts and screenshots”Settings → Launcher has keyboard shortcuts for graphics, which work from any app while a game runs:
- Bypass graphics effects turns the game’s graphics off, or back on, just like its Graphics checkbox. Pressing it twice gives a quick before-and-after comparison.
- Save processed screenshot saves the game’s image as you see it, with every effect applied, as a PNG file. The file is named after the game and the time, the way macOS names its own screenshots, and the performance overlay is left out. Screenshots go to a MacLauncher folder in your Pictures folder unless you pick another Screenshot folder, and they need the game’s graphics to be on.
Both act on the only running game, or, with several running, on the one in front. If none of them is in front, they act on the most recently started one.
A third shortcut, Toggle graphics for front app, works whether or not a game runs: it starts window graphics for the app in front, with a new row of its own, or, when that app already has window graphics, takes them off again. A fourth, Toggle pointer in window graphics, hides or shows the pointer that MacLauncher draws on an enlarged window of the app in front.
To set a shortcut, click Record Shortcut and press the keys. A shortcut combines Control with at least two of Option, Shift and Command, such as ⌃⌥⌘B. macOS and most apps leave combinations like these free, and Settings turns down the few that macOS does use, such as ⌃⇧⌘3 for screenshots. An active graphics shortcut takes precedence over the same keys in the app in front.
Videos too
Section titled “Videos too”Videos opened in MacLauncher play through the same chain. Export video… renders a video file with the saved chain applied, including neural models and image-pair frame generation. The sample images on this site were made that way.
The graphics guide describes the graphics chain, processing sizes, presets, the Output section’s performance and presentation settings and the shortcuts in full, and the Video page covers export.